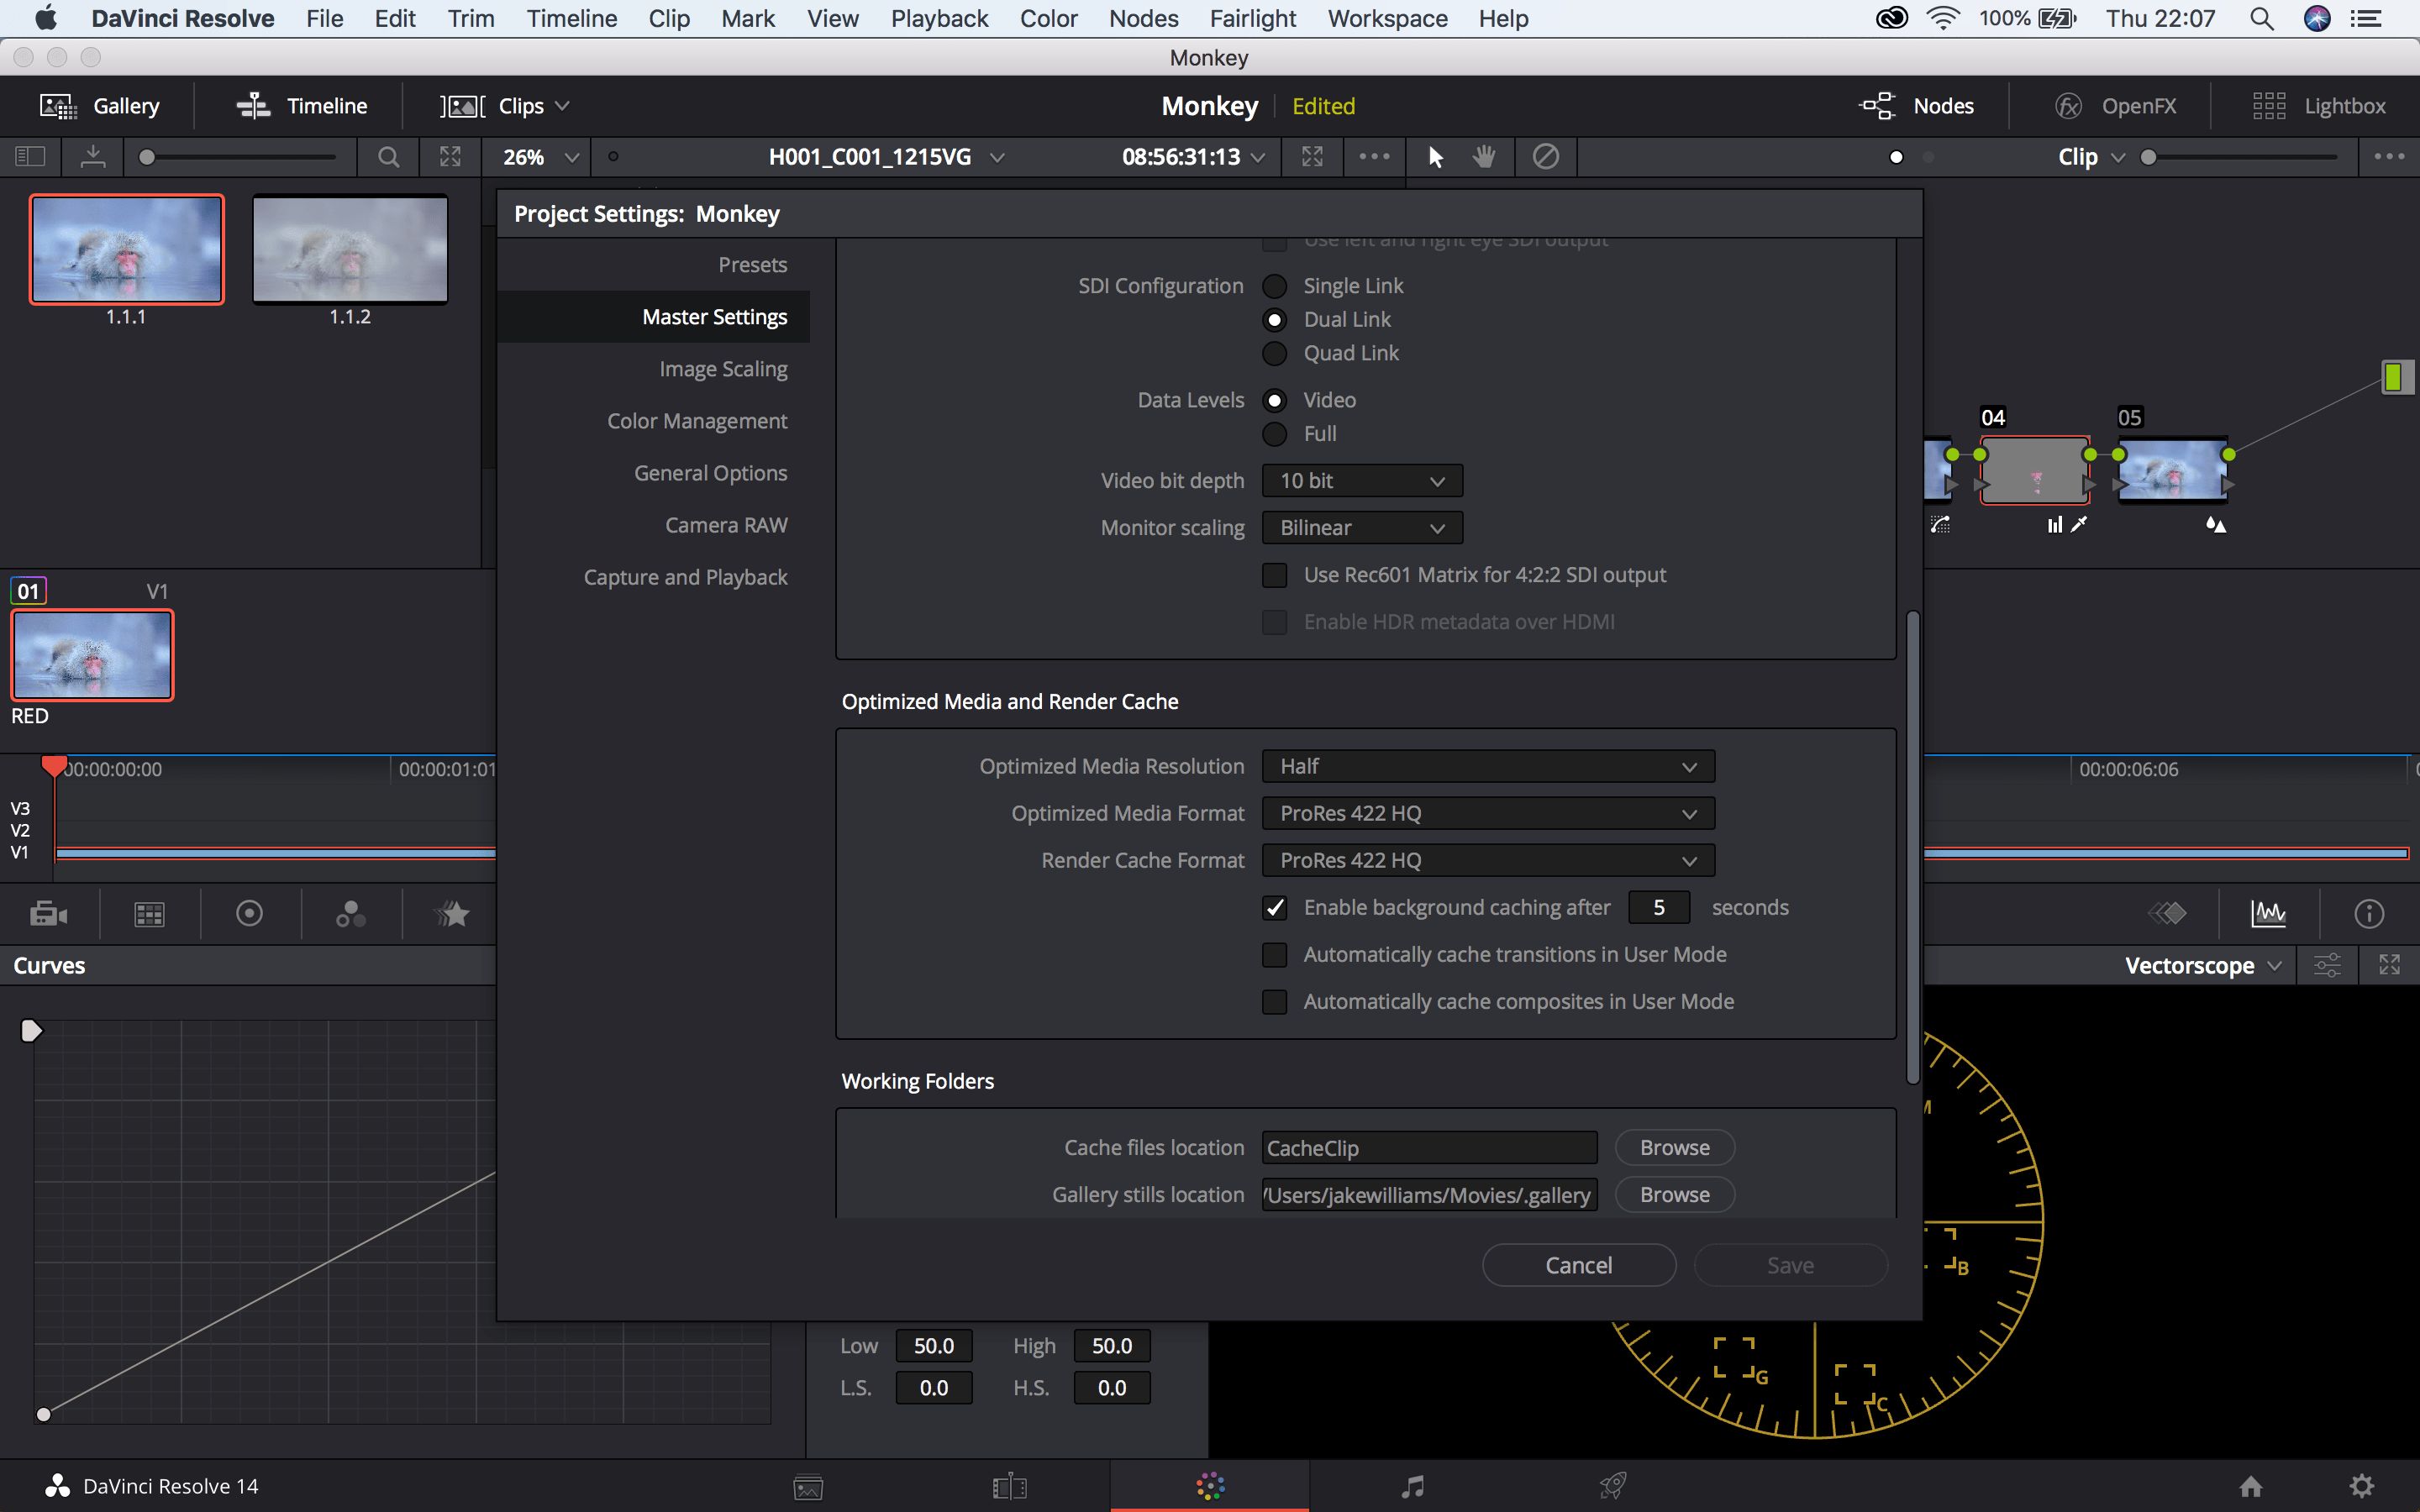
This tutorial demonstrates a way to make DaVinci run quicker. one issue with this tutorial is that for an older version of DaVinci so the ‘Optimized media’ section is not under general settings but under master settings. So, I’ve gone into DaVinci and loaded up a RAW file, gone into settings and selected my ‘Optimized media resolution’ as half. Going back to the clip it’s still finding it hard to run. After doing more research I’ve found this other tutorial.
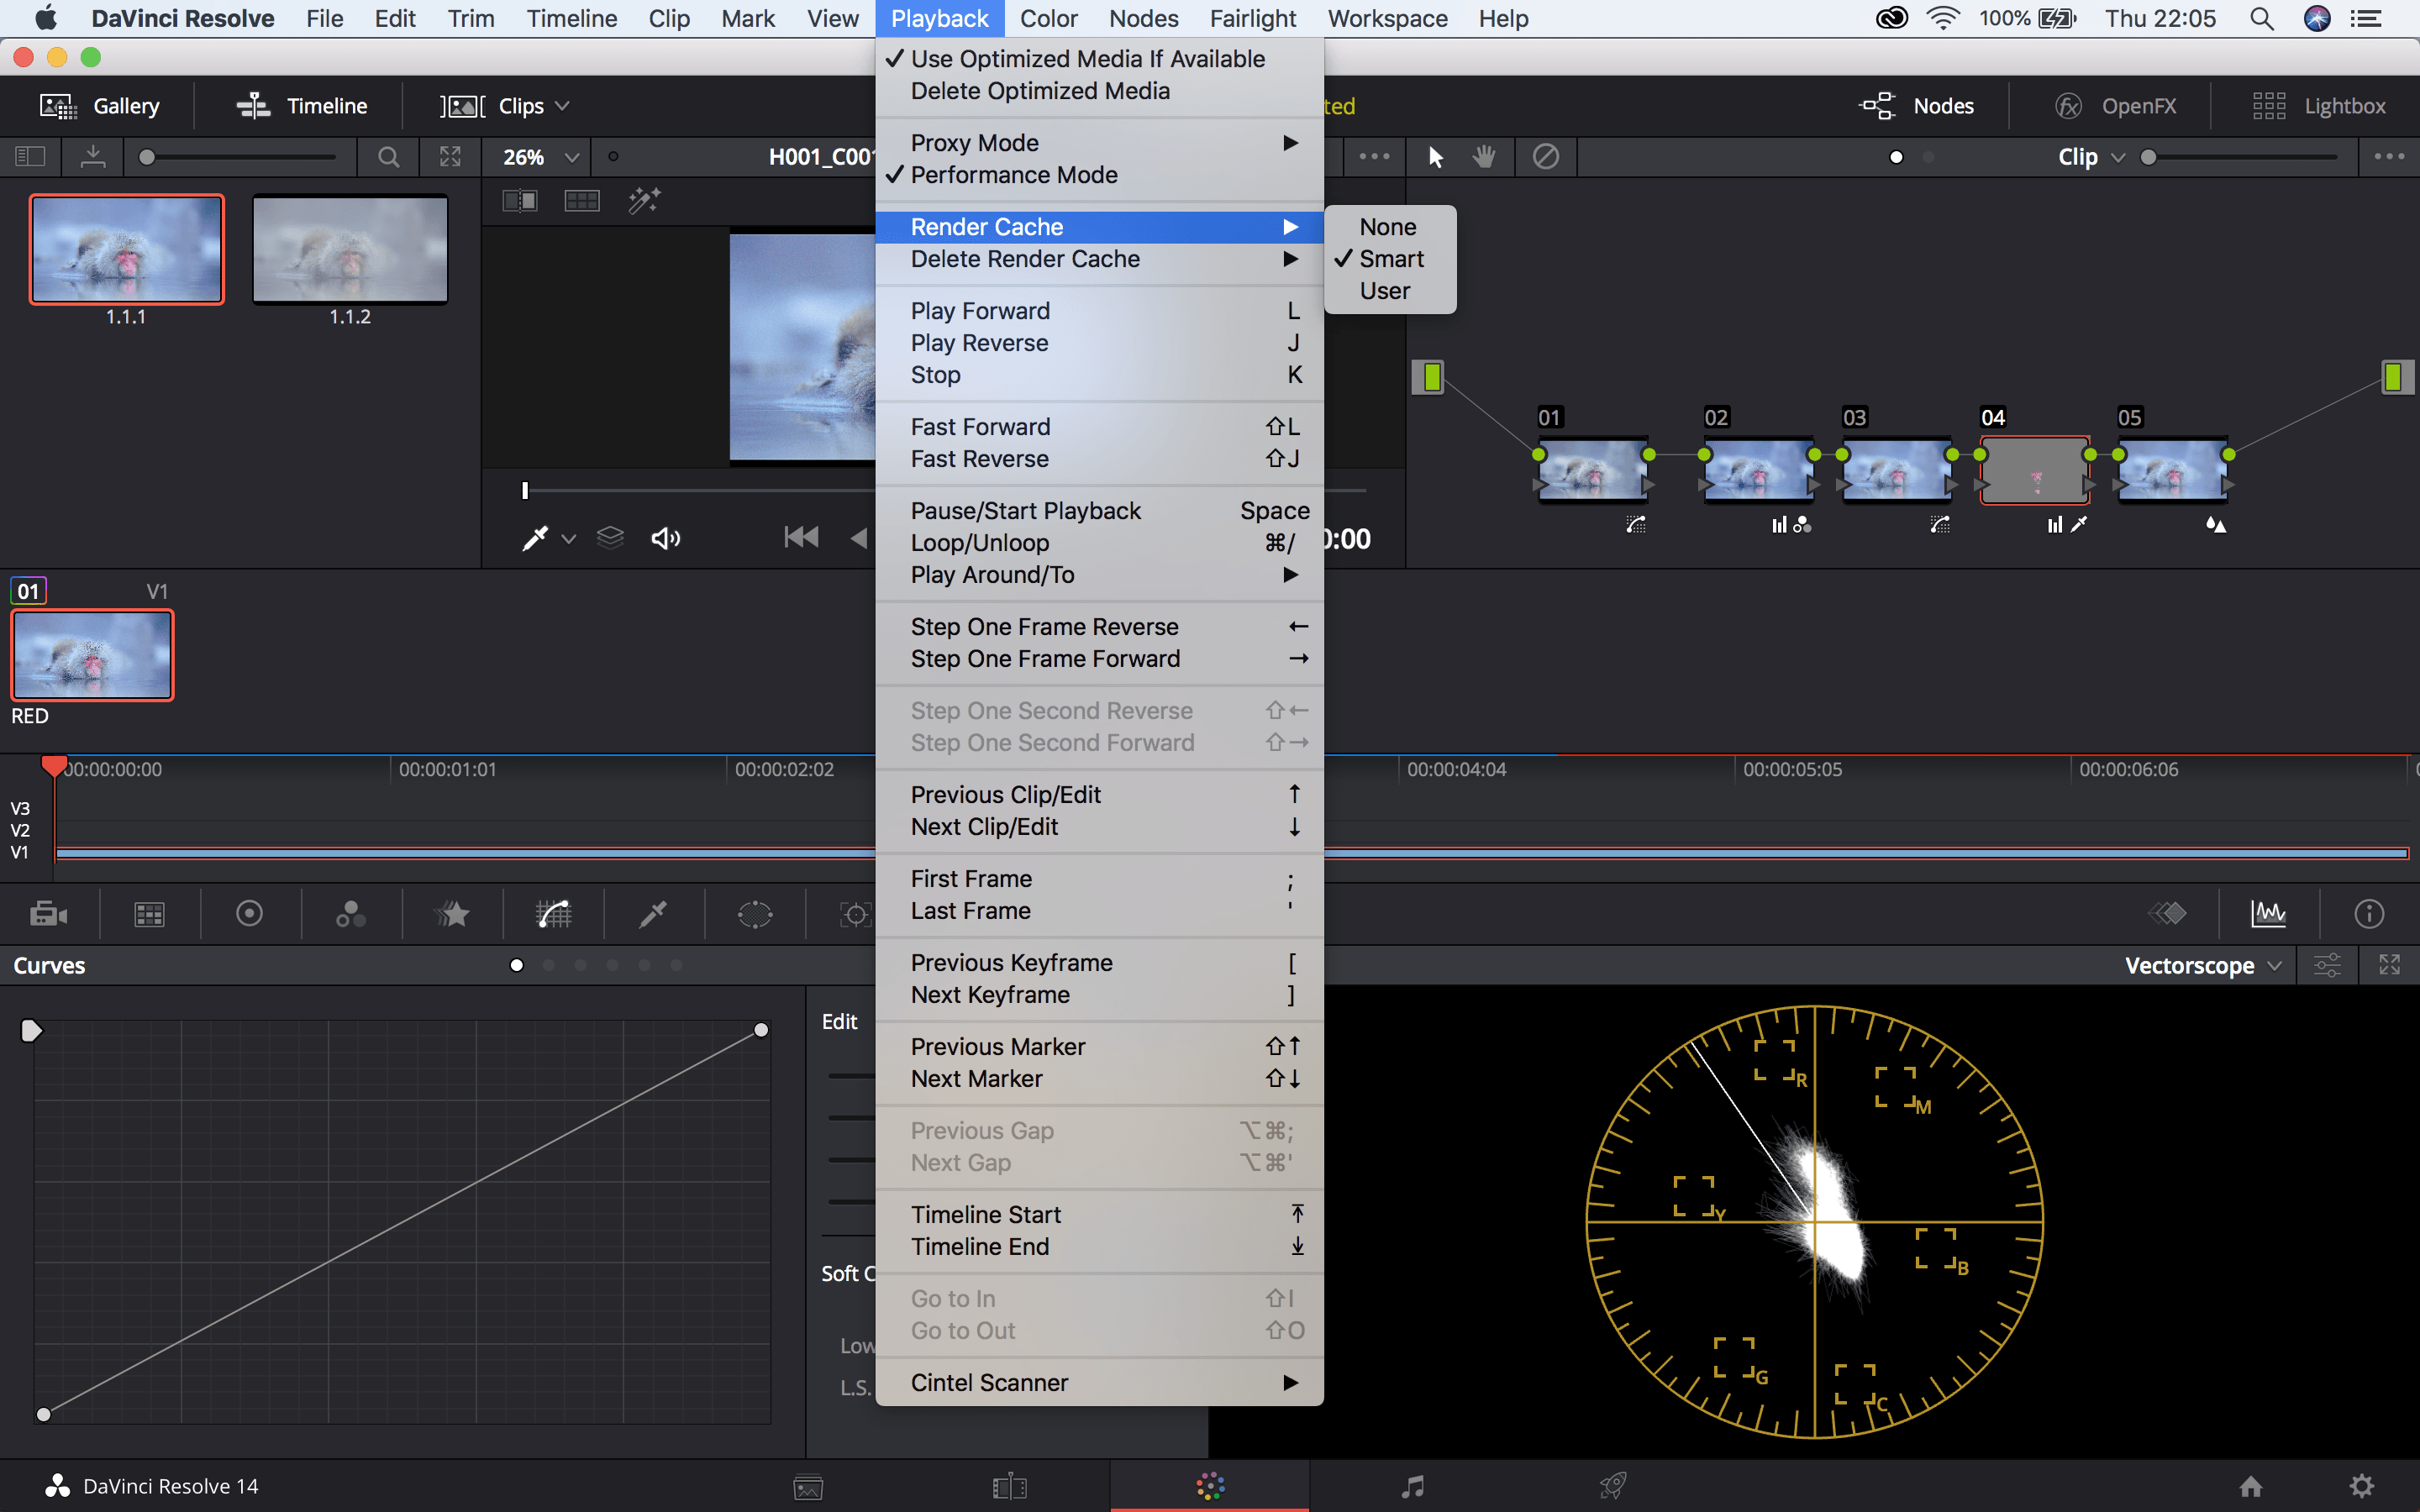
This tutorial informed me to select ‘Use optimised media if available’ under the playback. Also under render cache to select ‘Smart’. This basically means that the footage will render out when your computer isn’t doing anything.
Without the render cache, my MacBook finds it difficult to playback. To make this easier I’ve lowered the optimised playback resolution which fixe the problem. I will continue my search for ways to make resolve run faster
This tutorial demonstrates a way to smoothly zoom into a different shot. I found this tutorial when I was looking for a way to make my colour grading showreel look more interesting. The method of doing this involves using the effects replicate and mirror. These will be placed in an adjustment layer above the clips. Within the ‘replicate’ effect select the count to 3. The ‘mirror’ effect will need to be replicated 4 times. The reflection angle setting will need to change each time from 90 degrees, -90, 180 and 360.
In an adjustment layer above covering both clips make a keyframe on the scale setting where you want the transition to start and another where you want it to end. The first keyframe should be set to 100 and the next should be 300. You can see how I’ve used this below.
Camera Rotation Transition:
I intend to use this transition as part of a drug taking scene. I feel its reminiscent of a scene in Trainspotting in which the main character sinks into the ground or more recently Get Out. To achieve this I will need to use a green screen. As I’m not 100% confident in this process I will need to practise beforehand. I think this is a unique way to transition scene.
Walk by transition:
This transition is much simpler than the others in this post. A transition I already knew how to achieve. This video is used as a reminder to myself on how to if I forget. I was not intending to do this kind of transition as I felt it wouldn’t fit in. However, it’s a nice trick to know.
Camera Through Mirror:
I remember watching something that had a similar transition in. I feel it’s a good way to trick the audience and an impressive editing skill to be able to accomplish. When thinking about my film and the types of shots I will look to include this one. But, Like the rest of them, it will need practice first.
Freeze effect:
Similar reasons with the camera rotation transition. I feel this could be effective in the drug taking scene I intend to do. The main issue with this is needing a camera that shoots at 60FPS. This might not be possible to achieve however it is still something i intend to practise in the future.
Quick Whip:
This transition isn’t really using in narrative films. It’s very popular with YouTubers as its a quick and effective way to transition show seamlessly. The audience doesn’t notice the edits often. This method, to me has to be inspired by the term match cut, made famous by Stanley Kubrick in 2001: A Space Odyssey. Again I will test and practise this method when im able to film footage
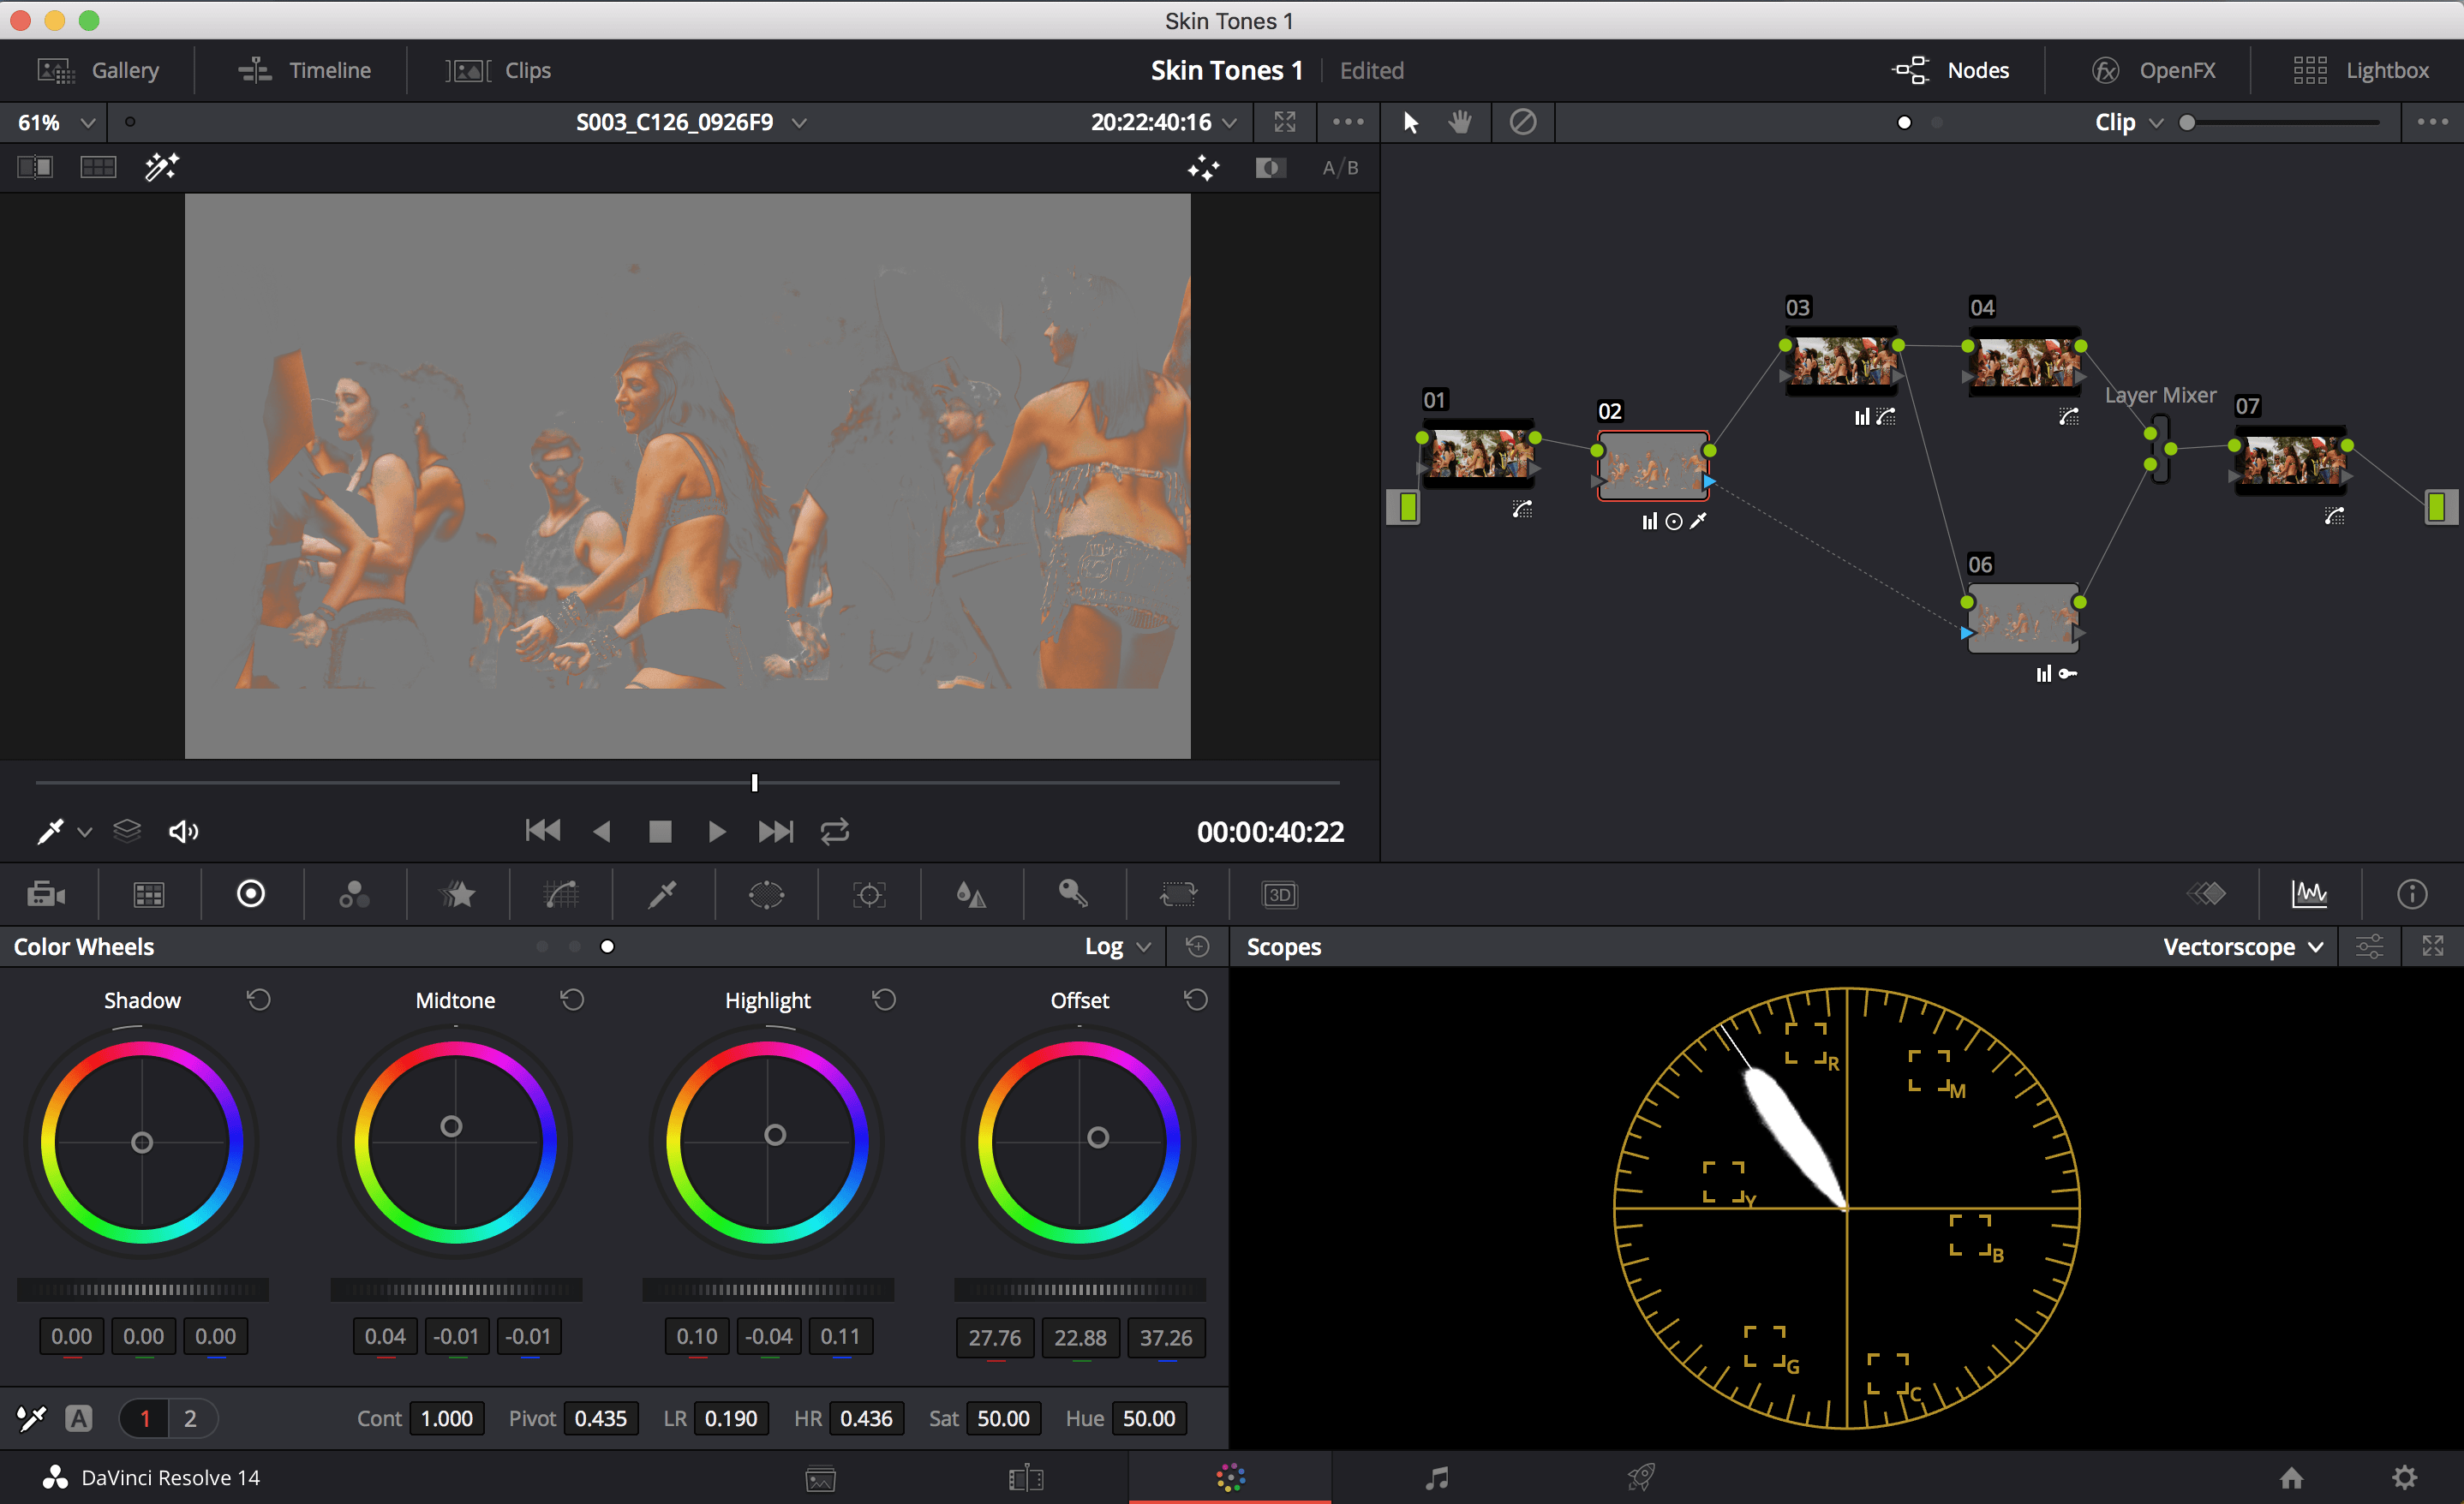
Here I followed the same procedure as before. Using the qualifier was the most difficult part because of the light reflecting off the skin other than that I feel like I’ve done pretty well with this footage and will consider using it in my showreel.
This scene features a lot of people showing a lot of skin. At first, it was difficult using the qualifier to select the skin from most of the people but by selecting new areas and using the feather tool I seem to have selected every piece of skin shown (Fig 1). I then went out and tried to match the skin colour to the skin tone indicator within the Vectorscope (Fig 1). This was done by using the colour wheels. Once this had been done I then sent to colour grade the rest of the scene. As it was at a party and outside I presumed it to be summer, with that in mind I decided to make the black colours darker and then redder. This was to make the other colours stand out more and for it looks more hot and summery.
I then decided if I could match the skin tones even if I change it to a prominently red scene to a more green one. This just made the scene look like it was part of a Twilight film.
I feel looking back I’ve made the skin too red. Because the blacks are a lot darker it could be possible the skin stands out a lot more than it should.
Figure 1
Below are links to two of the tutorials I followed:
I also used tutors in workshops to help understand skin tones.
Above is a before and after of some RAW footage I had found of Venice. In this clip, I wanted to test if I could change the colour to make it look more like it was at sunset. I made the pastel coloured buildings redder/pinkier. I changed the colour of the sky using the ‘window’ tab, Masking around the buildings and the sky and then tracking it to the footage. Then using the qualifier I tried to give the water a similar colour for a reflective look. Its far from perfect but doing that has given me the use of tools I hadn’t before. In the end, I include stills representing the different nodes I used to get this look.
I think next time I need to make the footage a lot cooler. The pastel colours look a little too harsh.